On this page
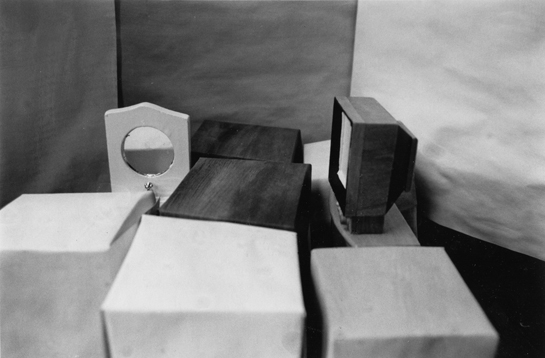
Contrast refers to the range of tones – from the brightest to the darkest – in an image or a subject. A print or scene with dark and light tones but few gradations in between is referred to as contrasty or having high contrast. A tonal range with few differences and no extremes of light or dark is called flat or of low contrast. Contrast is usually described in reference to black and white imagery, but the concept applies to color as well. Colors seem more intense and saturated when set against complementary colors. See the book for ways to control contrast with filters for black and white printing and to evaluate and alter contrast with the Histogram, Levels, and Curves via digital editing.
Adjusting Image Contrast in the Darkroom
Before your processed film reaches the darkroom, you have already made many choices that affect image contrast: (1) the subject, (2) the lighting, (3) the film — each film reproduces subject contrast differently, (4) filters used during exposure, and (5) the film’s development — overdeveloping increases image contrast. These factors are discussed in the book.
In the darkroom, contrast is determined by several factors including the type of enlarger, the developer and agitation during development. The greatest degree of contrast control is from the photographic printing paper and filtration used during printing. (For basic description of black and white printing papers, see the book: Photographic Papers or see our online resource for Color Photographic Papers.) The surface of all photographic papers (color or black and white) yields different degrees of contrast. Glossy papers heighten the richness of blacks, giving the appearance of higher contrast.
More significantly, the paper’s emulsion determines image contrast. Packages of black and white papers come either as graded papers (the whole pack is a designated contrast grade on a scale from #0 [low contrast] to #5 [high contrast] or as variable contrast (able to yield any grade when paired with a variable contrast filter).
Color printing is more a matter of finding the right color balance than the right contrast, but color papers are available in different contrast grades. These graded varieties are not the same as black and white — there is no standard scale from #0 – #5. Rather, manufacturers produce papers with different emulsions; for example, Fujifilm’s line of RA4 color printing papers comes in Super C (average contrast) and Type P (low contrast). The difference between each paper is fairly subtle — the equivalent of 1/2 to 1 grade on the black and white scale.
Adjusting Tonal Values with Split Filtration
A useful technique for images that require a lot of burning or dodging is split filtering, also called split printing. Printing with multiple filters involves printing part of the exposure with a #0 filter and the rest with a #5. The #0 filter exposes for the highlights and the #5 for the shadow areas.
To split filter, make a test strip using the #0 filter. The exposure with the #0 will determine the density of the highlights so make sure the test strip lies in the highlight areas of the negative. After processing the paper, locate the area of the strip with a white highlight that is only a shade darker than the white base of the paper. Note that exposure time. In our example, it was 10 seconds.
Now, make a second test strip using the #5 filter. The exposure with the #5 will determine the density of the shadow areas so make sure the test strip lies in the shadow areas of the negative. Expose the entire piece of paper with the noted exposure from the first test strip, then, expose the strip in 3-second increments. After processing the paper, locate the darkest shadow area that contains a true black while still retaining some detail. In our example, we selected the second band – the area that received 6 seconds after the initial 10.
To make the final print, expose the paper twice. With the #0 filter in place, expose the paper with the exposure that was determined for the #0 (here, 10 seconds). Then, switch to the #5 and expose the paper for the additional time necessary as determined by the second test strip (here, 6 seconds). Once a full size print is made, you can then adjust the exposure in the highlights by adjusting the time using the #0 or adjust the exposure in the shadows with the #5. The midtones should fall into place. If they seem a little dark, decrease the time with the #5 filter; if they seem too light, increase the time with the #0.
